A Picture Rail is a classic wall moulding installed near the ceiling that allows you to hang artwork without drilling holes into your walls. Traditionally used in period homes, picture rails have made a strong comeback in modern interiors because they combine style with practicality. They protect your walls, make it easy to rearrange artwork, and add architectural character to any room.
Many homeowners who already Buy Skirting Board products to enhance their interiors choose picture rails to complete the look. When installed correctly, a picture rail creates a polished, timeless finish that works equally well in classic and contemporary homes.
What Tools and Materials Do You Need Before Installation?
Before you install a Picture Rail, gather all necessary tools and materials to ensure a smooth process. Preparation saves time and improves accuracy.
You will need:
- Picture rail moulding
- Measuring tape
- Pencil
- Spirit level
- Saw and mitre box
- Adhesive or screws
- Drill and wall plugs (if required)
- Filler and sandpaper
- Paint or finish of choice
High-quality mouldings from trusted suppliers like Period Mouldings ensure durability and a professional finish. Choosing the right material also makes installation easier and more precise.
Where Should You Position a Picture Rail on the Wall?
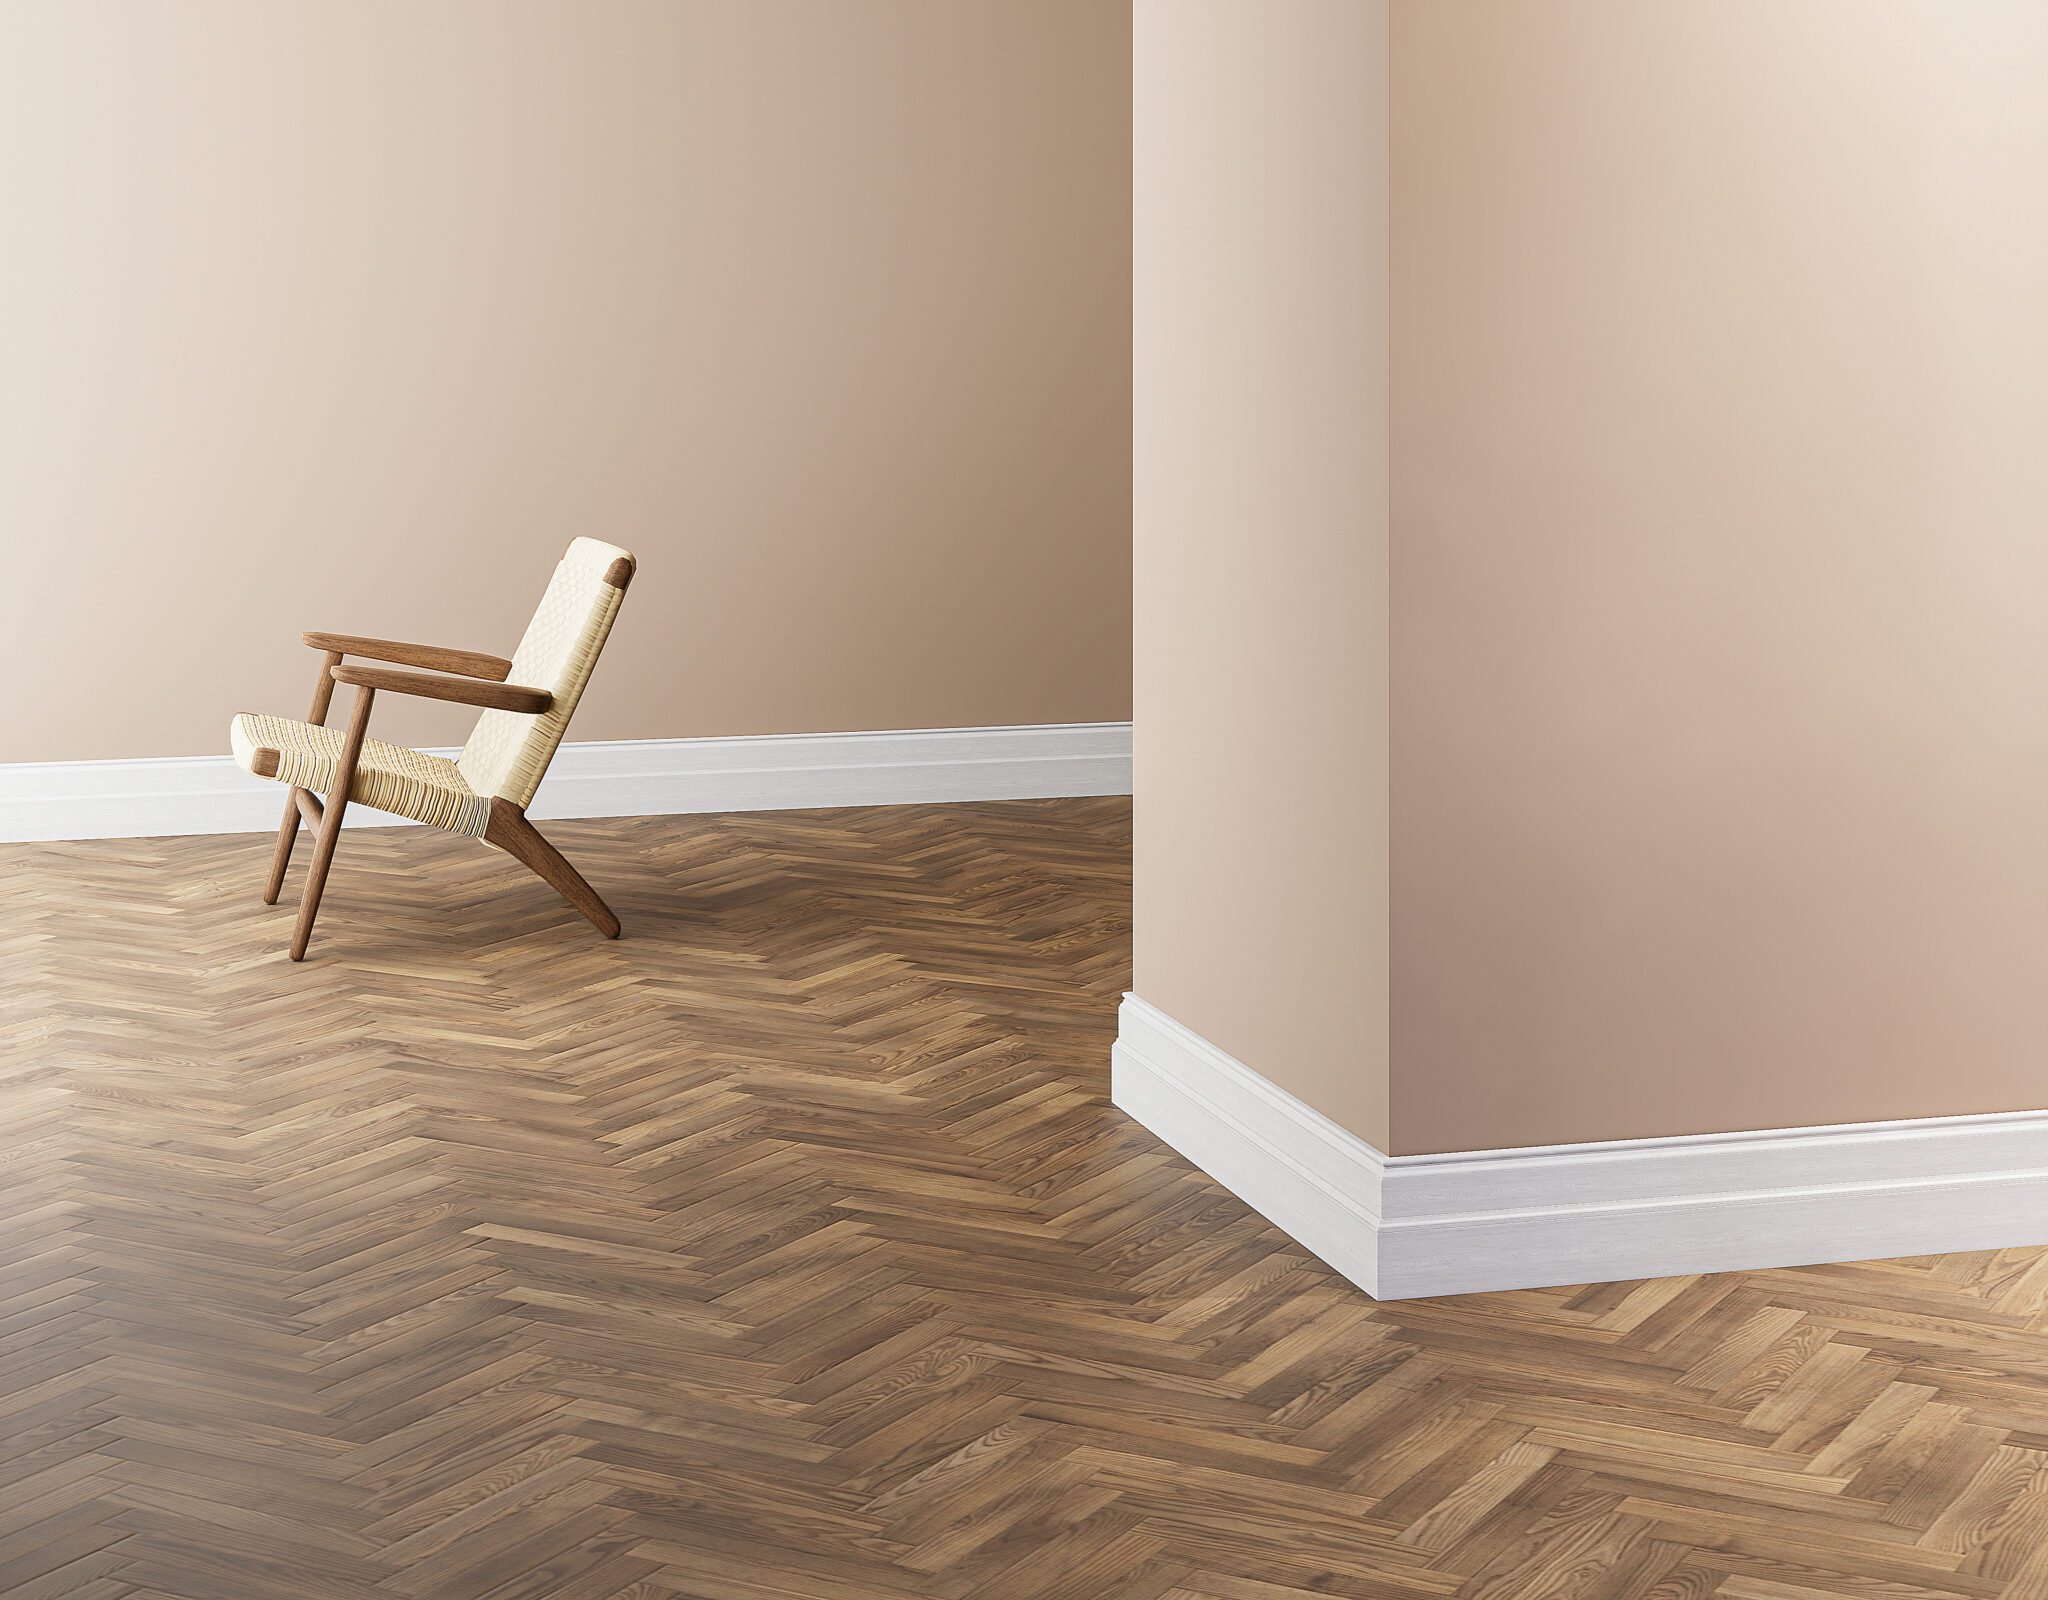
Correct placement is essential for both aesthetics and function. Most installers position the Picture Rail around 300–450 mm below the ceiling. However, ceiling height and room proportions should guide your decision.
In rooms with high ceilings, placing the rail slightly lower creates balance. In modern homes with standard ceilings, keeping it closer to the ceiling maintains a clean, elegant look. Always measure consistently around the entire room to ensure a uniform finish.
How Do You Measure and Cut the Picture Rail Accurately?
Accurate measurement ensures a seamless installation. Measure each wall individually rather than assuming all walls are equal. Mark the wall lightly with a pencil to guide placement.
When cutting:
- Use a mitre box for clean corner joints
- Cut internal and external corners carefully
- Dry-fit each piece before fixing
Taking time at this stage prevents gaps and uneven joints. Precision is especially important if you already Buy Skirting Board products and want the picture rail to align beautifully with existing mouldings.
How Do You Fix a Picture Rail to the Wall Securely?
You can fix a Picture Rail using strong adhesive, screws, or a combination of both, depending on wall type and moulding weight.
For lightweight rails:
- Apply adhesive evenly to the back
- Press firmly against the wall
- Use temporary pins or tape to hold it in place while drying
For heavier rails:
- Drill pilot holes into wall studs or plugs
- Secure with screws
- Fill screw holes afterward
Ensuring a secure fix allows the rail to support hanging systems safely.
How Do You Deal with Corners and Uneven Walls?
Corners often present the biggest challenge. Always cut corners at precise 45-degree angles and test-fit before final fixing. For uneven walls, apply slight pressure while fixing or use flexible filler to close small gaps.
Patience here delivers a clean, professional finish. High-quality profiles from Period Mouldings often make corner fitting easier due to consistent shaping.
How Do You Finish and Paint a Picture Rail for Best Results?
Once installed, finishing brings the Picture Rail to life. Fill any gaps or screw holes with filler, let it dry, and sand smooth. Apply primer if needed, then paint in your chosen color.
Many homeowners match the rail to the ceiling or skirting for a cohesive look. Others choose a contrasting shade to highlight architectural detail. Both approaches work well and enhance the overall design.
How Do You Use a Picture Rail After Installation?
After installation, you can hang artwork using hooks and cords designed specifically for Picture Rails. This system allows you to adjust height easily without damaging walls.
You can:
- Rearrange artwork anytime
- Display mirrors or decorative items
- Protect wallpaper and paint
This flexibility makes picture rails ideal for evolving interiors and gallery-style displays.
Why Should a Picture Rail Complement Skirting Boards?
Picture rails work best when coordinated with skirting boards. When homeowners Buy Skirting Board options that match or complement the picture rail, the room achieves visual harmony.
Together, these mouldings frame the walls and create a refined, well-designed space. Matching profiles or finishes ties the entire room together seamlessly.
How Can a Picture Rail Add Long-Term Value to Your Home?
Installing a Picture Rail is not just about aesthetics. It adds character, protects walls, and appeals to buyers who appreciate thoughtful design details. Period-style features often increase perceived value, especially in heritage or renovated homes.
With quality materials and careful installation, your picture rail will remain functional and stylish for years to come.
Is Installing a Picture Rail a DIY-Friendly Project?
Yes, installing a Picture Rail is a manageable DIY project for most homeowners. With basic tools, careful measuring, and patience, you can achieve professional results. If you enjoy interior upgrades and already Buy Skirting Board products for your home, adding a picture rail is a natural next step.
By choosing premium mouldings and following proper installation steps, you can transform your walls with confidence and style.